 I had hoped to move the drivetrain from my old bicycle to the new frame and I did, for the most part. Taking the crankset off was straightforward. I had never taken a cassette off a wheel, so that was new but wasn't too hard. A helpful tip: cassettes come off one cog-at-a-time (for the most part) and there are spacers between some of them so take pictures of the pieces that come off in the order that you took them off. It will really help you putting things back together.
 When it came time to remove the bottom bracket, I found I had two problems. First, I had the wrong tool because I thought I had a BB with external cups. Yeah, that's a stupid thing to not notice but, in my defense, my old bike originally came with one but that changed when I switched to a compact crankset, so I'm not completely hallucinatory. The second problem was that when I turned the bottom bracket, it felt a bit rough so I figured it needed replacing. I decided to let get a new bottom bracket and at the LBS and let them install it. I'm not convinced that was the most cost-effective decision but I didn't want to buy yet another tool and was anxious to get this done. Oh well, they put it on and it is smooth as silk.
Putting the crankset on the new bike was, of course, a piece of cake.
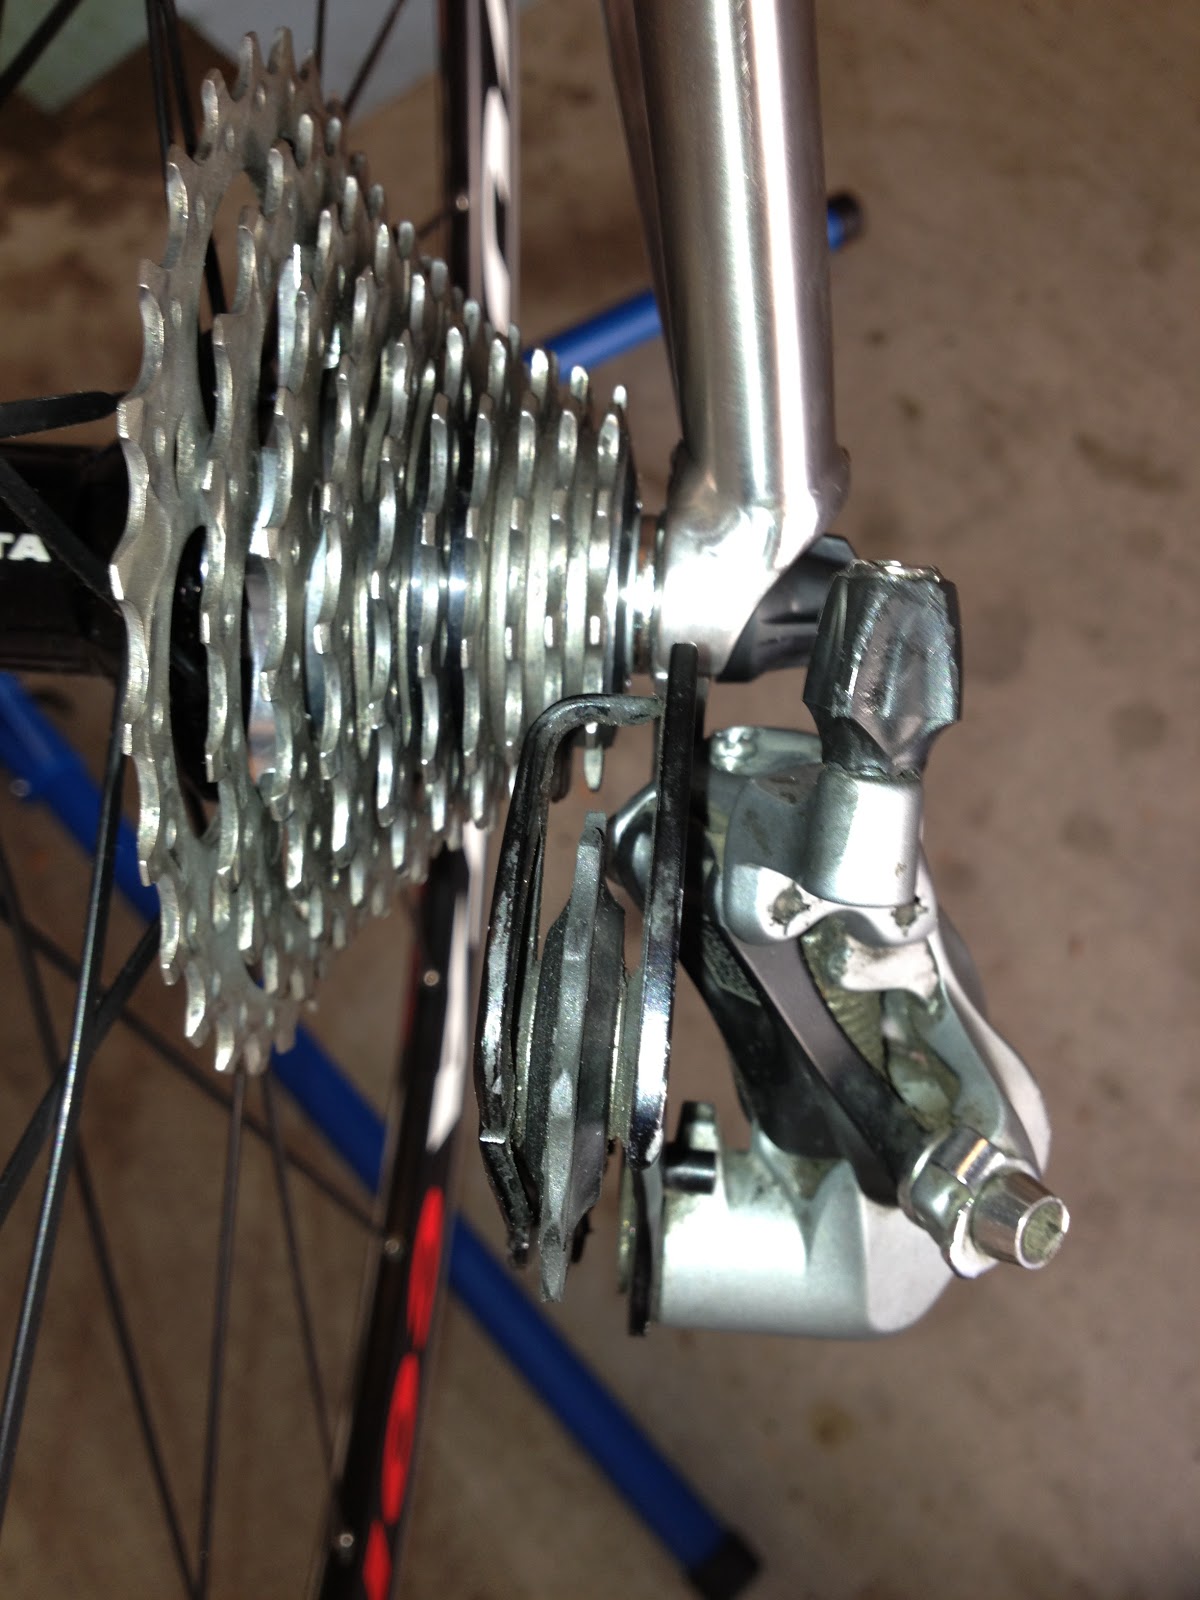 Before I put the cassette on the new wheel, I wanted to clean it. All I did was mix up some water with degreaser and soak the cogs in there while I did other work on the bike. After an hour or two I took them out, wiped them off with a shop towel, and put them on the rear hub. While they don't exactly look new, it is a huge improvement over how they looked before.
Oh, and while I was down there, I added the bottom bracket cable guide. That's something you don't usually think about, do you? Not only does your LBS probably not stock them, they are kind of a neglected part out there on the internet. Your best bet is to find them on eBay. The problem is that there are different sizes of cable guides because of the different sizes of bottom brackets and you don't always get a description of the BB size for your cable guide.  The guide from my old bike didn't fit so, originally, I bought a Campagnolo cable guide on eBay because I thought it would be funny ("Find the Campy part I used."). It turns out that it was made for a bigger BB so I couldn't use it, either (though I did try and ended up stripping the cheap screw in the process--I had to break the cable guide and used pliers to remove the screw). Stopped at the LBS, they had a couple different types laying around so I got both. The ugly one fit best. Oh well, nobody will see it but me.
Update 3/2/13: Competitive Cyclist just posted a gallery of their new Merlin Extralight titanium bike. Look at the bottom bracket cable guide! Looks like I'm in good company.
No comments:
Post a Comment